How to Record Your Screen Using Power Point?
Everybody is well aware about that Microsoft Power Point is widely used for presentations in industry across the globe. The software is very easy to use and easy to create stunning presentations, if you are well aware about the lesser known or almost hidden features of power point. Two of such features (Screen Recording and Screen Capturing), I am going to explain how to use these.
While you are creating a presentation and you want to show some demo of application running, till now people used to take screen shots of the application and provide the demo. But how about if application hosted within LAN and cannot be accessed from outside. How well it is to use the screen recorder to create a demo of application and share. This is one of the best features to help create stunning user manuals. Now question comes, How to use this Feature.
Another one is taking screen shots of any application and using thjat screen image in your presentations. Previously, we used to take screen print and then crop as per requirement. But the latest feature added in power point to capture the screen is very handy. Let me tell you how to use Screen Recorder and Screen capture features of Power Point. You can also watch this video (Hindi) to look and feel the operations of using these two features. However, I am also explaining about this in below Screen Cast (:))
1. Open Power Point
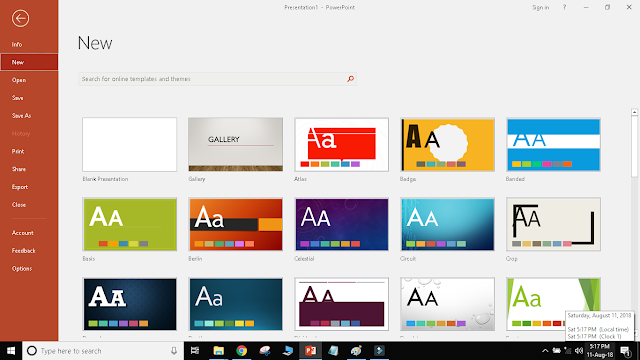
2. Create New Presentation
3. Go to Insert and Screen Capture
4. All Opened applications will be shown here
5. Done. Success. Congratulation. It is so easy.
Screen Recorder
1. Now. Click on Screen Recorder Button (Marked Black Circle in Below Image)

2. Mark Area Screen to be recorded

3. Click Black Circled Button to start Recording

4. Next three button on small toggle window are self explanatory.
5. When Done, move your cursor on top of screen and recording window will appear.
6. Click on Stop recording / Pause Recording and act accordingly.
7. The recorded screen will automatically be inserted into your presentation.
8. You can run that at the time of presentation as a demo or user manual.
9. Best Part is that you can also create audio attached to this simultaneously.
10. Really amazing feature to create stunning presentations
Enjoy and if you have any question please drop in comment box.
Thanks
Follow by Email to avoid missing of any important topic. :)
While you are creating a presentation and you want to show some demo of application running, till now people used to take screen shots of the application and provide the demo. But how about if application hosted within LAN and cannot be accessed from outside. How well it is to use the screen recorder to create a demo of application and share. This is one of the best features to help create stunning user manuals. Now question comes, How to use this Feature.
Another one is taking screen shots of any application and using thjat screen image in your presentations. Previously, we used to take screen print and then crop as per requirement. But the latest feature added in power point to capture the screen is very handy. Let me tell you how to use Screen Recorder and Screen capture features of Power Point. You can also watch this video (Hindi) to look and feel the operations of using these two features. However, I am also explaining about this in below Screen Cast (:))
1. Open Power Point

2. Create New Presentation
3. Go to Insert and Screen Capture
4. All Opened applications will be shown here
 |
| Click Insert >> Screen Capture >> Select Screen you Want to Insert |
Screen Recorder
1. Now. Click on Screen Recorder Button (Marked Black Circle in Below Image)
2. Mark Area Screen to be recorded
3. Click Black Circled Button to start Recording

4. Next three button on small toggle window are self explanatory.
5. When Done, move your cursor on top of screen and recording window will appear.
6. Click on Stop recording / Pause Recording and act accordingly.
7. The recorded screen will automatically be inserted into your presentation.
8. You can run that at the time of presentation as a demo or user manual.
9. Best Part is that you can also create audio attached to this simultaneously.
10. Really amazing feature to create stunning presentations
Enjoy and if you have any question please drop in comment box.
Thanks
Follow by Email to avoid missing of any important topic. :)


Comments
Post a Comment